Hopefully this article will make it easy for you to get started using any ActiveX component or control in Visual DataFlex.
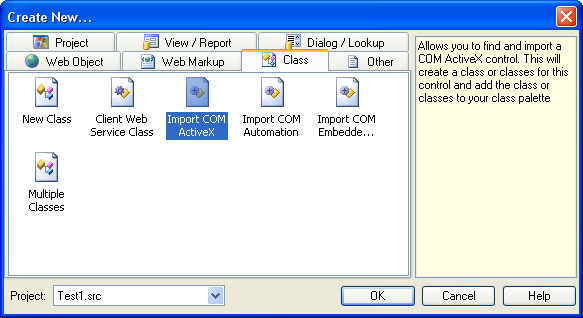
The first step is to import your COM ActiveX. You can do this from the Visual DataFlex Studio. Select File/New/Class and then select the "Import COM ActiveX", as shown below:
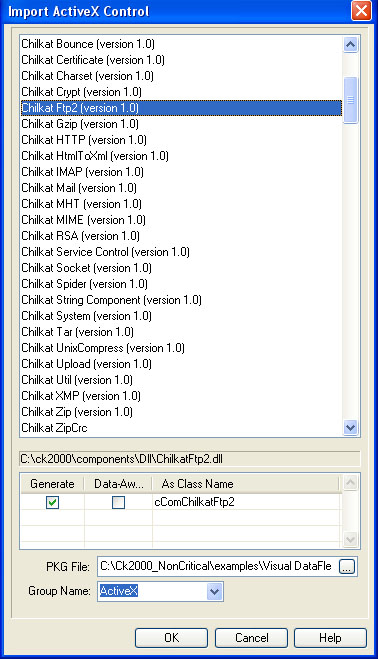
Next, select the ActiveX to import, as shown in this screenshot:
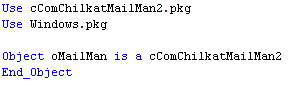
This creates a .pkg file, which is a wrapper for the ActiveX.
Next, add a "Use" statement in your source code to use the .pkg file just generated. Then declare a variable for the object you’ll be creating in the next step:
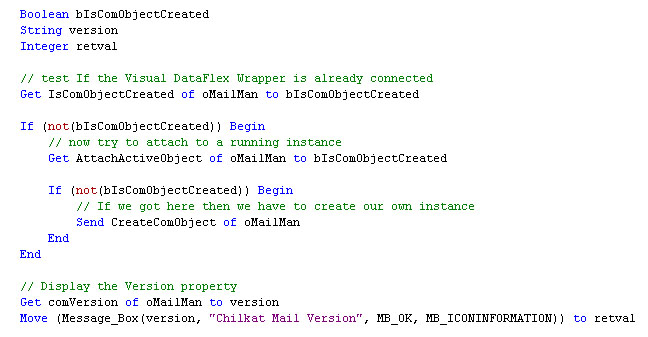
Finally, instantiate the object and call it. This example displays a message box with the Version property of the Chilkat Email ActiveX: